Sourdough Recipe

Flours
One of the primary considerations when baking good sourdough is procuring high quality flour. In particular, we're usually looking for flour with 14-17% protein content, with most cheap flours being closer to 10%.
In Ireland, some recommendations are:
- Marriage's Very Strong White Bread Flour
- Marriage's Strong White Bread Flour
- Dove's Farm Strong White Bread Flour
- Marriage's Very Strong Wholemeal Flour
In general, you're going to need about a 15 to 1 ratio of white flour to wholemeal (for sustaining your mother, bulk fermentation, and the bread you'll make). So don't feel like you need to buy tonnes of wholemeal flour.
Flour Types
- Rye flour is useful for adding sourness to the bread, but its low protein content will reduce the rise you get from the yeast.
- Spelt flour will give you a nice "grassy" flavour.
- Wheat flour is great for its lightness, and worth sticking to for pizza bases and Focaccia.
- Malthouse flour adds a nice sweetness to the bread.
- Stoneground flour is, in general, better but has a shorter shelf life than regular flour.
Starter
20g strong white flour
20g lukewarm water (~30ºC)
4g live starter
Timing
8 hours at room temperature (~20ºC)
The starter (or "mother") is your base culture of yeast which is used to bootstrap your leaven. It consists of 100% hydrated flour (equal parts flour and water) with a small amount of your previous mother.
The goal is generally to feed your mother every time it doubles in size which should take about 8 hours if it's kept in a warm room, or up to 7 days if kept in the fridge (but feel free to consult the following table for a broad sense of what is okay).
| Situation | Warm Room | Fridge |
|---|---|---|
| Ideal | 8 hours | 7 days |
| Home Baking | 12 hours | 10 - 14 days |
| Max Life | 24 hours | 30 days |
If feeding your starter to keep it alive or refresh it after a period in the fridge, you don't need a lot of flour. I like to use ~20g of flour, ~20g of water, and a few grams of existing starter to get it started. Mix the existing starter into the water first and then incorporating the flour until it is well mixed.
Leaven
100g strong white flour
100g lukewarm water (~30ºC)
20g live starter
Timing
8 hours at room temperature (~20ºC)
The leaven stage is much the same as your general starter (simply a 100% hydrated mix of flour, water, and starter which you're going to leave at room temperature for about 8 hours), just done at a much larger scale in preparation for your bulk fermentation.
Once you've confirmed that your starter is healthy, mix the full 20g into your water and then add your 100g of strong white flour. Mix it thoroughly to ensure you don't have any dry patches, and then leave it for 8 hours at room temperature to double in volume.
After 8 hours, you should see well distributed air bubbles throughout the starter mixture and it should smell subtly sour - now you're ready to make your dough.
Bulk Fermentation
90% strong white flour (900g)
10% wholemeal flour (100g)
70% lukewarm water (700g)
20% live starter (200g)
After the autolyse phase, you'll also need to add:
2% salt (20g)
5% water (50g)
Timing
40-60 minutes in the autolyse stage
3 hours, folding every 30 minutes
15 minutes rest after rounding
30 minutes rest after shaping
12 hours in the fridge
The bulk fermentation stage is the point where you actually prepare your dough for baking. The recipe itself is represented in "% weight of total flour" and in the default recipe we're going to make about 2kg worth of dough - which is enough for two loaves of bread.
Mixing
Start by adding your water (700g in this case) to your mixing bowl, and check that a tablespoon of your starter floats. If it does, proceed to add the rest of your starter (200g in total) to the water, and mix it until it is well dissolved - this ensures the yeast has easy access to all of the flour you're about to add.
Next, add your flour (900g of strong white flour, and another 100g of wholemeal flour) and mix it into a "shaggy mass", ensuring all of the dry flour is well incorporated into the mixture and you don't have any obvious clumps of dry flour.
Autolyse Stage
At this point, the yeast in your starter is going to start consuming the protein in your flour and producing the gluten which will hold your dough together and give it the springy consistency we're looking for.
Cover your mixing bowl with a cloth or lid and let it sit for anywhere from 40-60 minutes before moving onto the next stage - if you don't give the yeast enough time to work here you may find that your dough tears too easily when you try to fold it - and if you let it go for too long you may find that the yeast reproduces too quickly and you end up with excessively large bubbles in your final product.
Once the autolyse stage is complete, we are going to add the remaining water (50g) and salt (20g) to the mix. I recommend measuring and mixing these two ingredients together separately, and once they have been combined, mixing them into your dough.
You want to ensure that they have been evenly mixed into your dough, since the salt will help slow down the yeast reaction and an uneven mix will lead to inconsistent results in the final dough.
Once you've done this, place your dough in a reasonably large container which allows it to spread out (I find that a non-stick oven tray works well) and allow it to sit for 30 minutes.
Folding
Now comes the fun part: folding your dough to stretch out the gluten strands and give it a light, springy texture (if you don't do this, your final bread will tend to be very dense and struggle to rise).
The trick here is to avoid "pulling" on the dough to stretch it out, and instead relying on the weight of the dough to do the work for you. I find that lifting the dough up in the middle, and doubling it up on itself, tends to work well - however you can also do it in 1/3rd segments as shown in this video.
A good example of how to fold your dough during the bulk ferment stage.
Do this a few times until the dough no longer wants to stretch easily (usually 2-3 times) - and then allow it to sit for 30 minutes to relax (covering it with a lid or cloth to avoid the surface drying out).
You'll want to repeat this folding process every 30 minutes until your dough has had about 4 hours to ferment and has taken on a pillowy consistency.
Shaping
The final stage with your dough is shaping it. This is best done on a clean counter-top using a scraper, and you're going to first split your dough into roughly 1kg boules (in half, if you're following the default recipe size).
Use your scraper to turn it into a tight "round". This involves sliding the scraper under the bottom of your boulle and moving it up and around the outside before tucking it under the top (effectively like drawing a question-mark's top - "?"). This will wrap the bottom of the dough under itself and tighten it into a ball.
Once it has been shaped into a tight "round", we're going to let it sit for 15-20 minutes to relax again before dusting the top of the boulle and your work surface. While it's resting, you may wish to prepare your banneton by dusting it with flour to ensure your dough doesn't stick to it.
Use your scraper to lift the dough and place it top-down on your floured work surface, leaving the sticky bottom facing you. Now you're going to lightly stretch out the bottom of the ball and fold it 2/3rds of the way over itself. Repeat for the left and right hand sides as well. Once that's done, grab the top and fold it over to the bottom before placing it in your banneton basket in the same orientation.
A good example of how to shape your dough before placing it in your banneton.
Once in your banneton, you can let the dough sit for between 30 minutes to 1 hour to recover from the shaping before you place it in the fridge (although, I am usually too lazy to wait and skip this). You'll want to leave the dough in the fridge for about 12 hours, although it will gladly keep for up to 36 hours if you prefer to get an increased rise out of it.
Baking
25 minutes covered at 250ºC
25 minutes uncovered at 200ºC
30-60 minutes to cool
When it comes to baking your sourdough, the key ingredients are heat and steam - both of which your average kitchen oven are designed to avoid giving you (because consistent heat requires high thermal mass, which takes a long time to heat up; and steam is bad for getting that crispy "roast" texture we usually look for in oven cooked meals). Professional bakery ovens use thermal mass in the form of stones, and steam-injection, to solve these problems - and if you've got the money I suppose that's something you could get...
To work around this without spending insane money on a hobby, we use a dutch oven/crock pot instead - taking advantage of the heavy iron construction to add thermal mass to our oven, and the lid to lock-in the steam during the first phase of our bake.
Start by pre-heating your oven and crock pot to 250ºC, giving it sufficient time to fully come up to temperature and heat soak the crock pot (this can take up to 30 minutes after the oven comes up to temperature itself).
When you're ready, place the dough from your banneton on a sheet of baking paper (the top part of the dough in the banneton should end up facing down on the sheet) and score the top of the dough with a razor blade.
We want to score a few layers deep (about 5mm) to give the dough a way to release tension as it rises in the oven - allowing the bottom edges to remain flat rather than being forced upwards. If you forget to score the bread, or don't score it deeply enough, you'll find it turning into more of a ball shape than a traditional boulle.
Set a timer for 25 minutes and let the bread bake at 250ºC inside the crock pot. The lid will keep the steam in and help you avoid burning the outer crust of your bread.
Set another 25 minute timer and let the bread continue baking at 200ºC, this will allow the crust to take on a lovely brown caramelisation and a lovely, light flakiness.
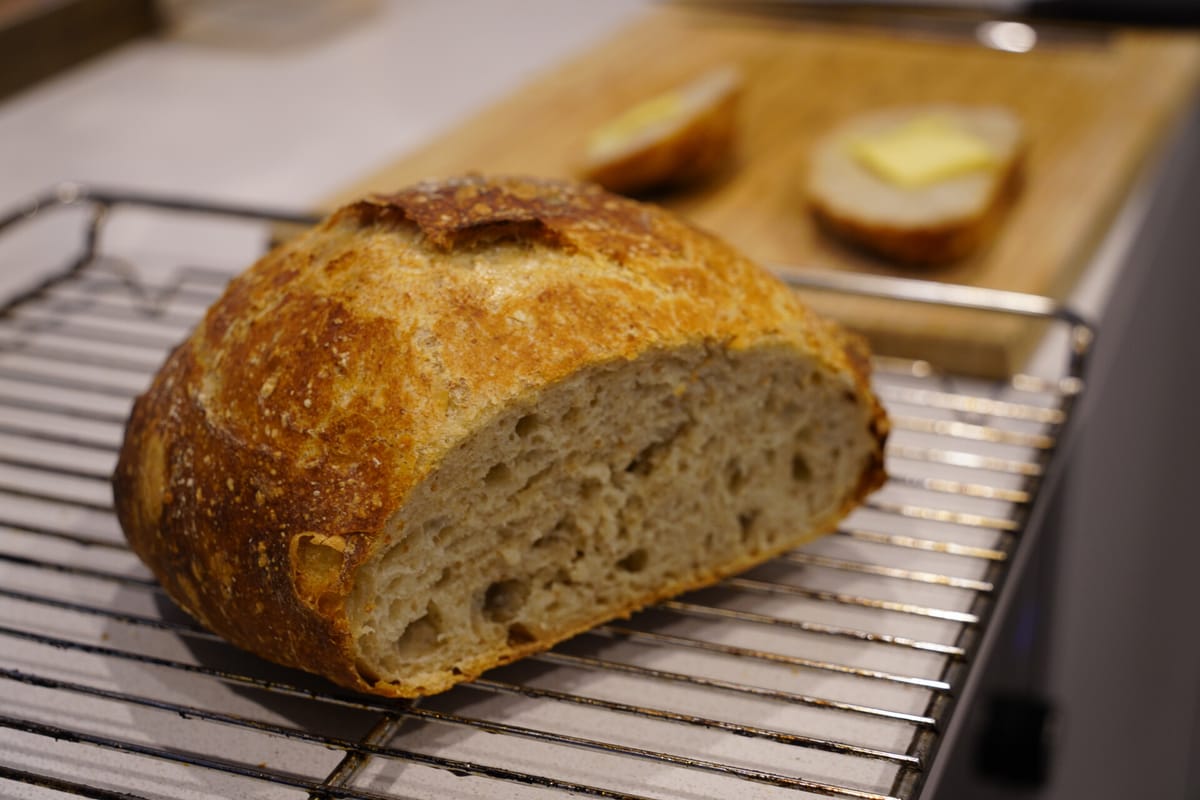
Now you're ready to take your bread out of the oven - set it on a rack and allow it to cool for about 30 minutes before you cut into it (if it's still warm, the bread will have a tendency to remain gummy and stick to the knife).
If everything has gone well, you'll now have a delicious loaf of sourdough bread; congratulations!
Alternate Recipes
The recipe above is for a basic country loaf, but you can do a lot to adjust the recipe for a range of different outcomes.
Focaccia
100% strong white flour (1kg)
70% lukewarm water (700g)
20% live starter (200g)
After the autolyse phase, you'll also need to add:
2% salt (20g)
5% water (50g)
5% olive oil (50g)
Timing
40-60 minutes in the autolyse stage
3 hours, folding every 30 minutes
12 hours in the fridge
Process
Warm to room temperature before baking (about 1h30m)
Generously coat baking tray and brush olive oil over surface for shine
Stipple dough before baking
Making sourdough Focaccia is not particularly different to what we do usually, however we're going to only use white flour (for a lighter bread) and will fold in 5% olive oil at the end of the autolyse stage in addition to the usual salt and water.
Instead of shaping and rounding the dough, we'll also let it sit in our oven tray in the fridge overnight (covered in cling film) and allow it to warm back up to room temperature (about 1h30m) before baking it.
When getting ready to bake it, give the dough a generous covering of olive oil and stipple it with your fingers (pushing it down into the tray without tearing the dough, giving it an uneven surface consisting of the holes your fingers have pressed into it).
Proceed to bake it for 25 minutes at 250ºC and another 25 minutes at 200ºC as usual, but without a cover (instead, brush olive oil over the surface to create a shiny crust).